Required System Role: Standard User
Required Team Role: Team Leader
Webforms are often used on Project websites so Stakeholders can register their interest.
In this example, we will create a simple webform that captures a Stakeholder, including their Name and Email Address and a related Event, including Stakeholder Comments and Issue Types.
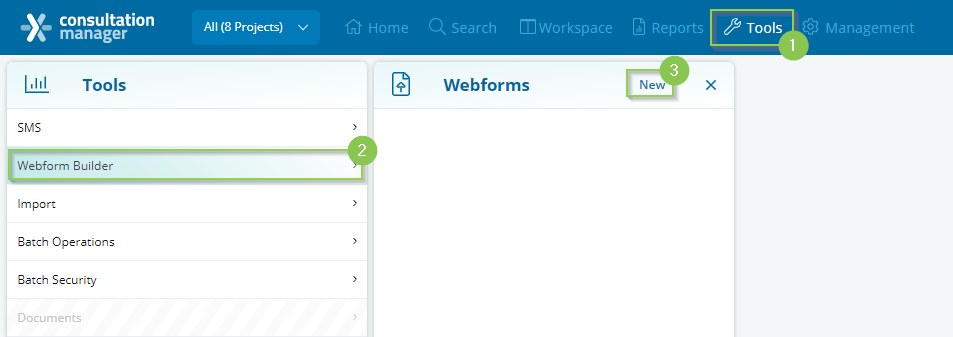
Start by clicking Tools (1), Webform Builder (2), New (3).
Once you have landed on a new Webform Builder page, you can select the Record types and fields you want to include in your form. You can also identify the Projects that these Records should be related to.
There are two options for relating Projects:
-
You can select the Project/s which will always be related to your Records (4)
-
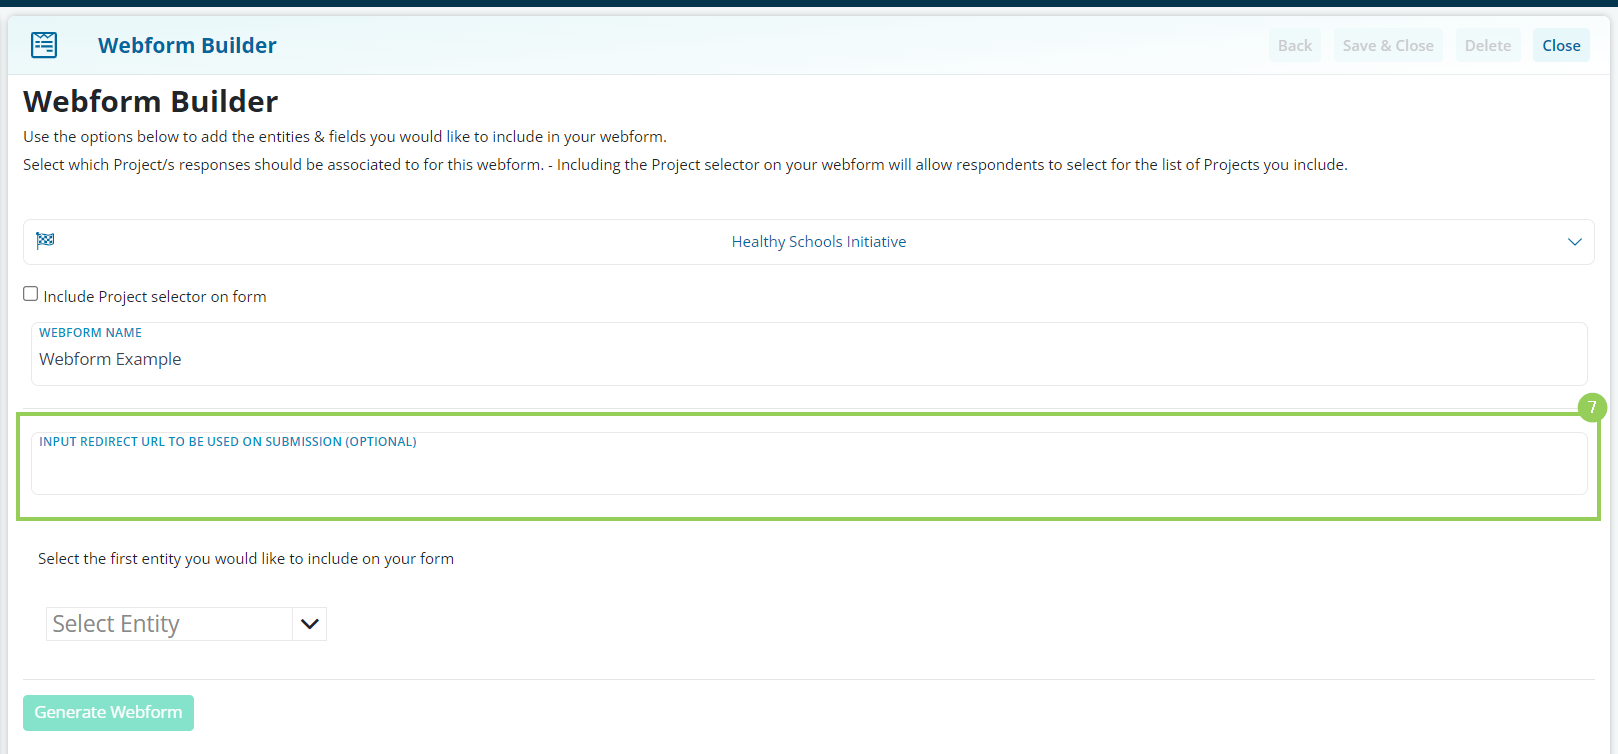
You can check the box to 'Include Project Selector on Form'. Including the Project selector on your webform will allow respondents to select from the list of Projects you include. (5) You will also then be able to type what this section is titled on the form when your Stakeholders make their selection (6).


In this example, we will pre-select Project (4). This will automatically assign the created Stakeholder and Event record to the selected Project. You also have the option to input a URL which will redirect the Stakeholder to a webpage of your choosing once they submit their form (7).
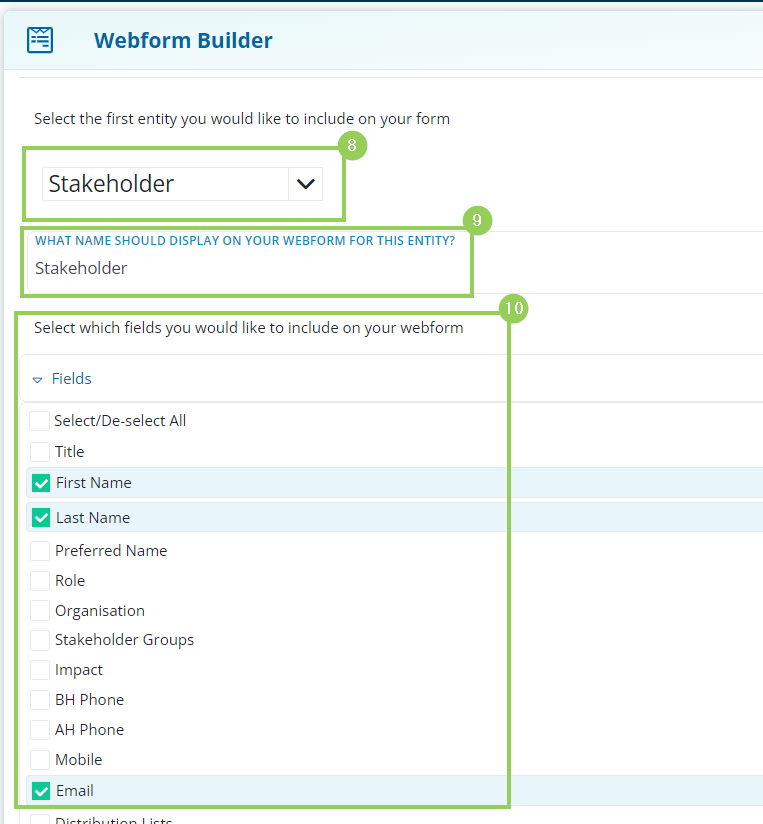
Next, select the first Record type that you wish to include (8). In this example, we have chosen Stakeholder. Type in what Name this should be displayed as on your Webform (9).
Then, select the fields your Stakeholder should populate on their Record (10). In this example, we have selected First Name, Last Name and Email.
Select the relevant settings you require for each field (11)
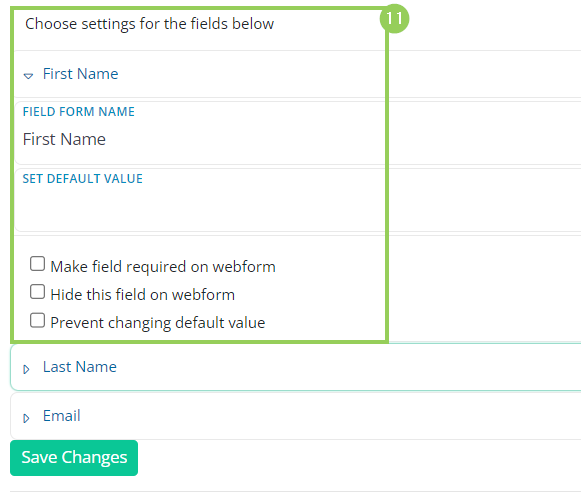
When selecting the settings for the Email field you will notice an extra option (12) If enabled, webform responses will be related to an existing Stakeholder with a matching email address (if found).
Selecting this then triggers the second option to become available (13) If enabled, existing Stakeholder details will be updated based on the webform response e.g. Contact Details, Name, Address etc.

Next, click [Save Changes] a pop-up message stating it has been saved and the page will update outlining the selections you have made so far. Click [Add another Entity] (14) to configure additional Records that can be related to your Stakeholder.

Select the required Entity you wish to relate to the Stakeholder, in this case, an Event (15)

Proceed through the same steps as above in the name displayed for the Event on the Webform (16) and select the wanted Fields (17).

Note: When choosing Classification fields like 'Issues', you will have various options to select from in the settings.
You are able to set default Issues that are hidden from the Stakeholder or automatically selected and/or always assigned on submission.
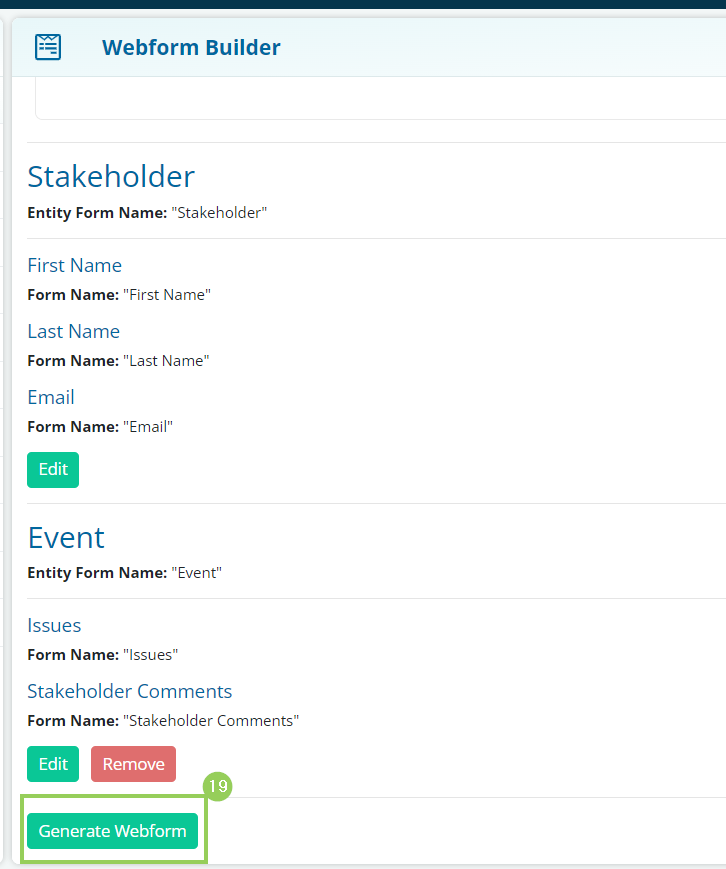
Once you have made your selections click [Save Changes] (18).

You will receive a success message and the page will refresh itself to reflect the selections you have made. Once this has occurred click [Generate Webform] (19)
A message with pop up stating it is generating the HTML code and a success message will appear once done.
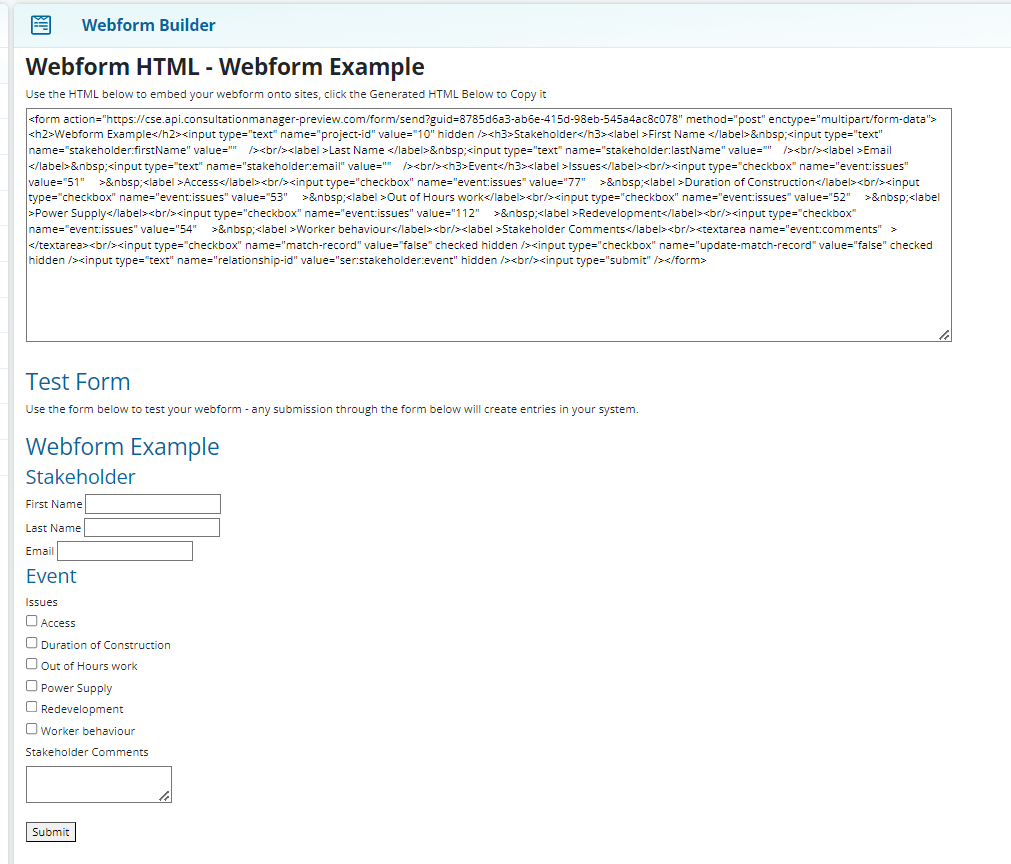
Finally, the code will display for your webform. This can be provided to your digital/web team to embed on your website.
You can test your form in this view by entering data into the preview version of the webform.
Please note - this will generate data in your system.